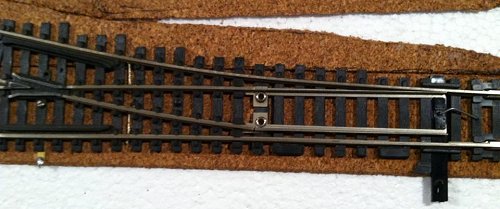
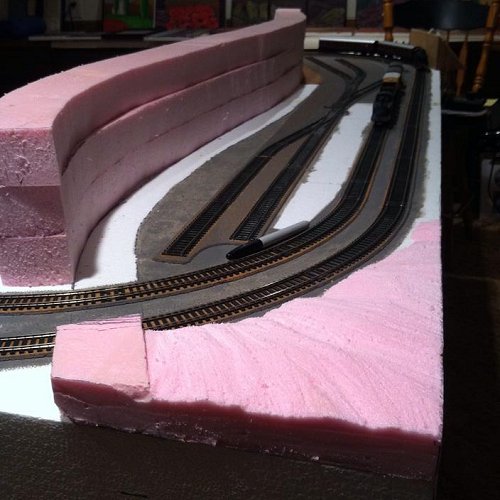
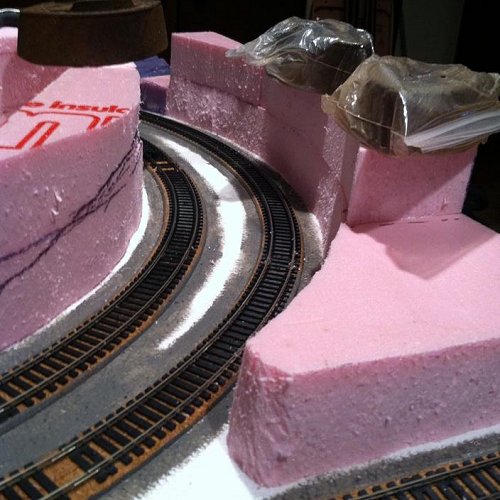
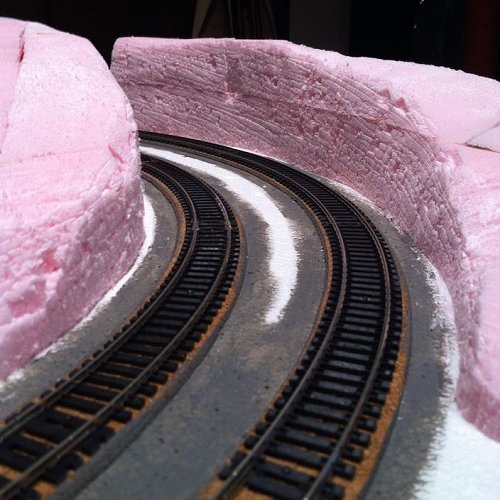
The track is Atlas code 100 set track. Point work is also Atlas
with metal frogs, but I don't have them wired as electrofrog
units. The track is mounted on a 3/32" cork road bed. The cork
is glued down and the track pinned through the cork into the
foam with normal track pins with a spot of Tacky Glue on
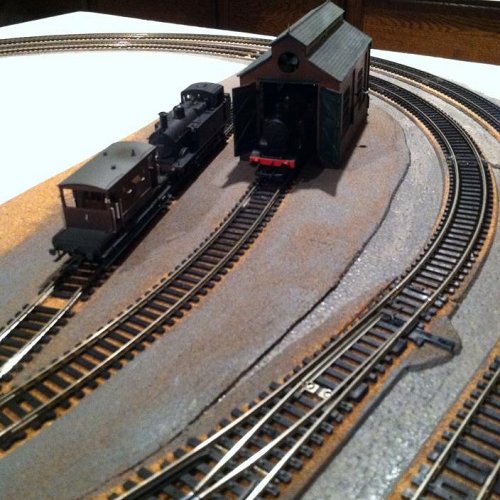
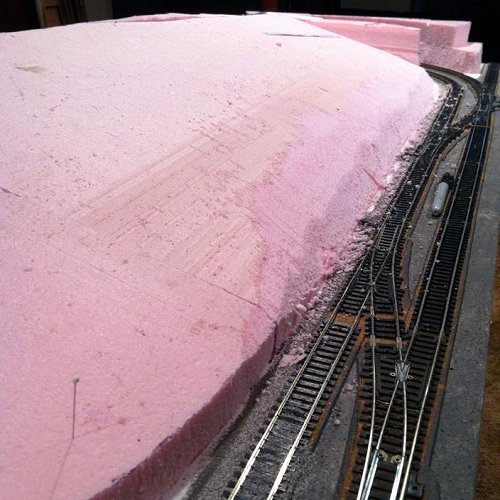
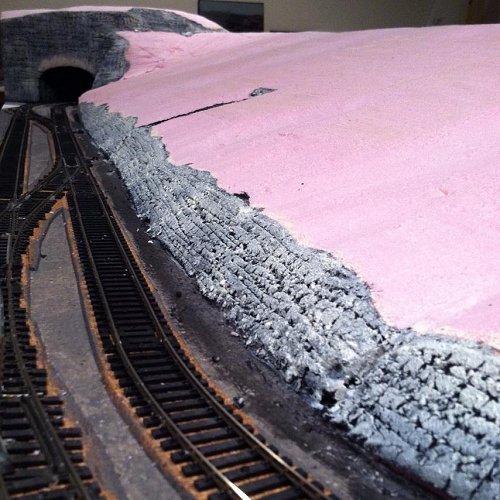
each pin to secure it. At this early stage I painted a wash of
grey acrylic paint around the track area just to tone down the
stark white of the foam base.
and the running rails. This powers the moving parts of the point without them having to rely on the contact between the moving
blades and the running rails. You might also be able to see a simple over-centre spring that I add to these points so that they snap
into position at each side of their movement.

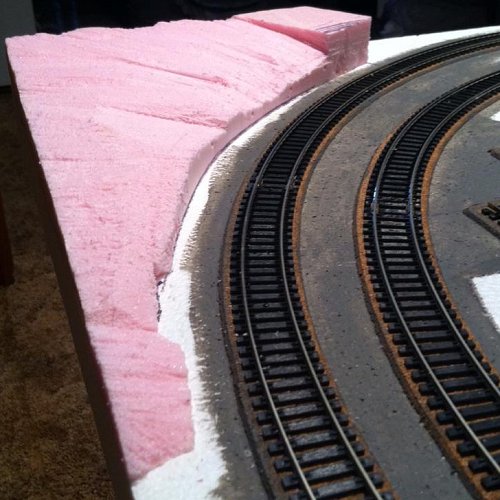
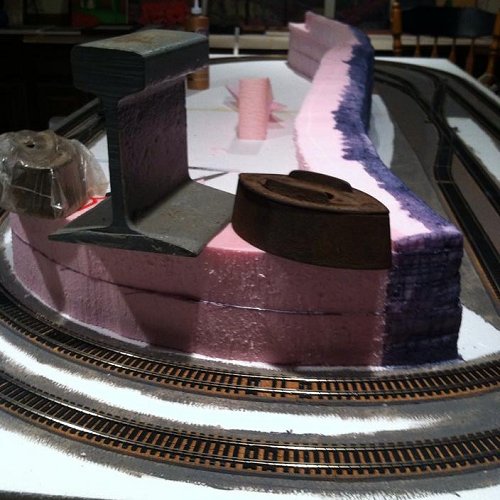
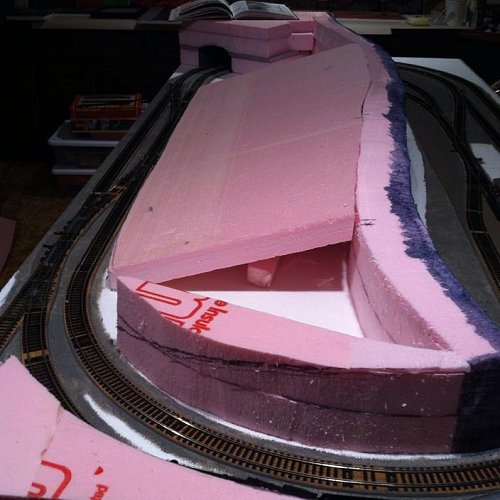
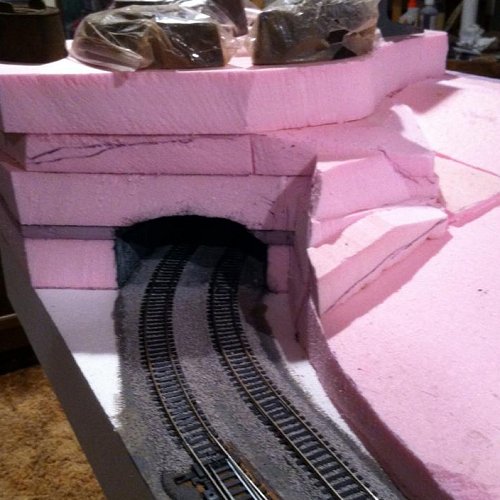
baseboard with Tacky Glue, and then carved to shape. For carving I use a serrated kitchen knife, a hacksaw blade, and coarse
sandpaper.
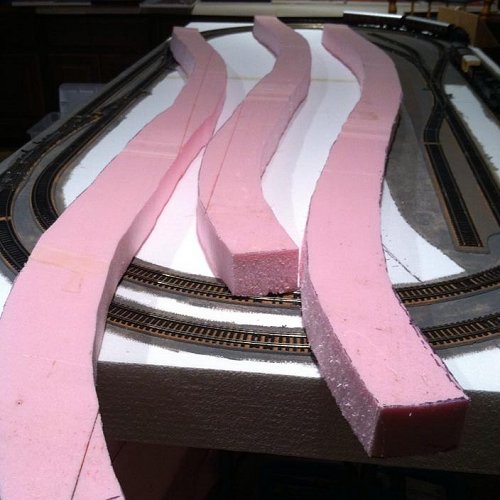
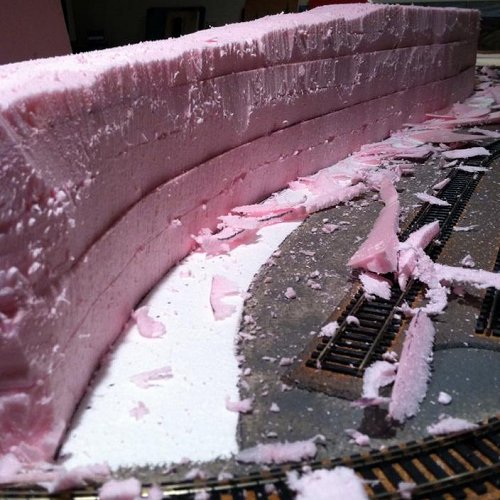
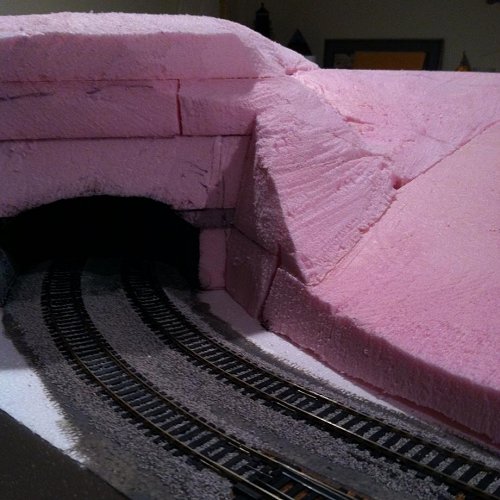
Millers Dale. Three 2" thick "S" shapes were cut, stacked, and glued into position on the baseboard. The rock face was then scored
and carved to shape. Horizontal and vertical cracks are the main feature of limestone edges. They were all cut in using the point
of the kitchen knife. Chunks are broken out at random and the top edge carved to a realistic shape.
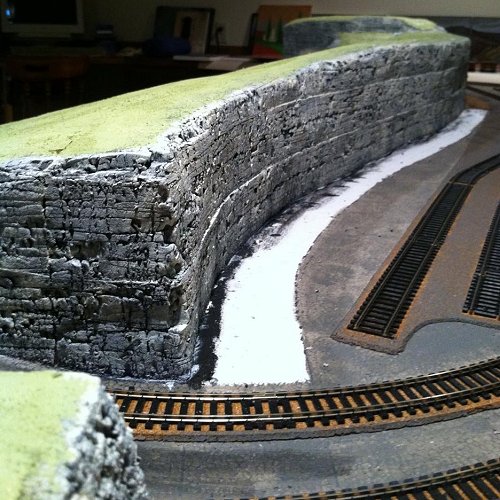
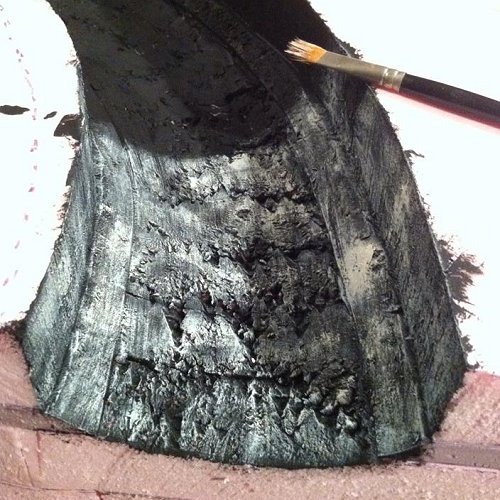
When I was reasonably satisfied I gave the foam a wash of thinned black acrylic paint. This made the features more obvious so
that changes could be made. Eventually the rock face was painted black.
the same way as before to create the limestone faces.
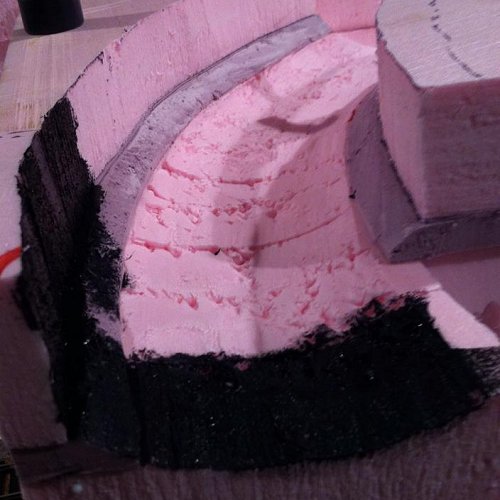
little tricky to see, but these are the tunnel sides and top (upside down). The inside has been rough carved and is partially painted
black at this stage. The tunnel openings are roughly shaped. They will later be hidden by cast resin tunnel portals.
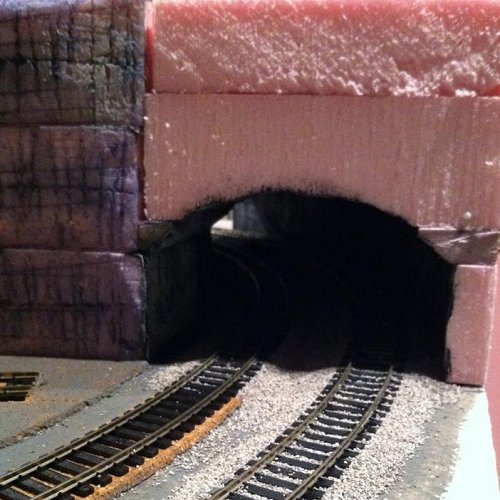
but it will look like a rough carved tunnel to anyone who manages to get in a sufficiently contorted position to see it.
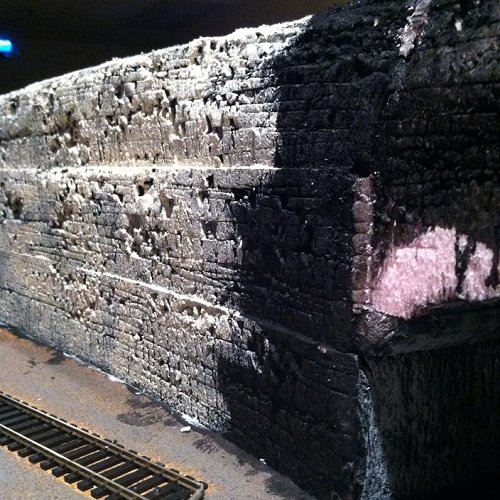
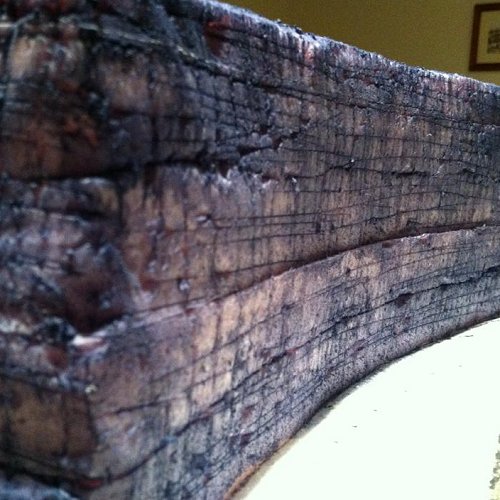
edge after painting it black and in the process of dry brushing an ivory white layer on top. This really brings the limestone to life.
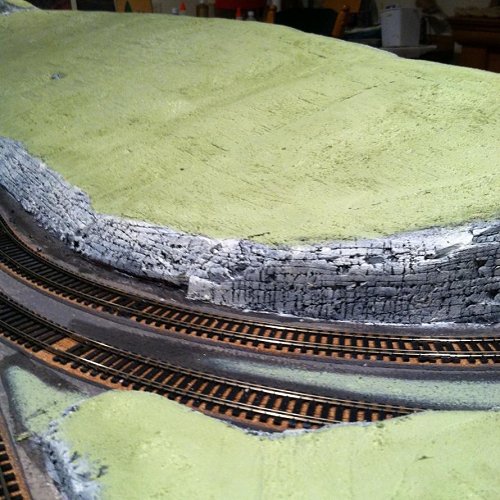
The slope will have grass scatter added later, but it already looks okay just painted over the coarse texture of the carved foam.