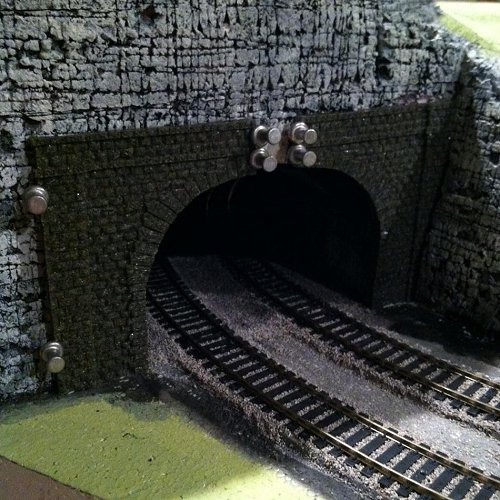
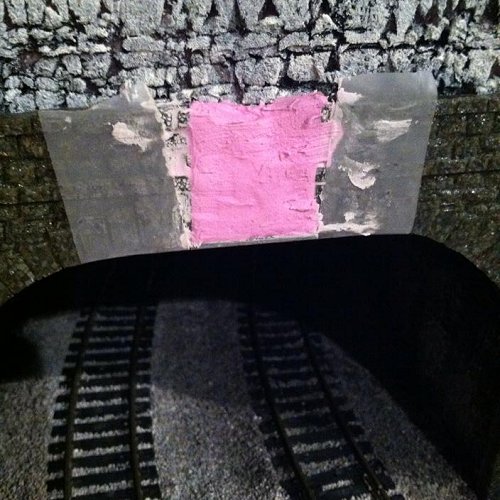
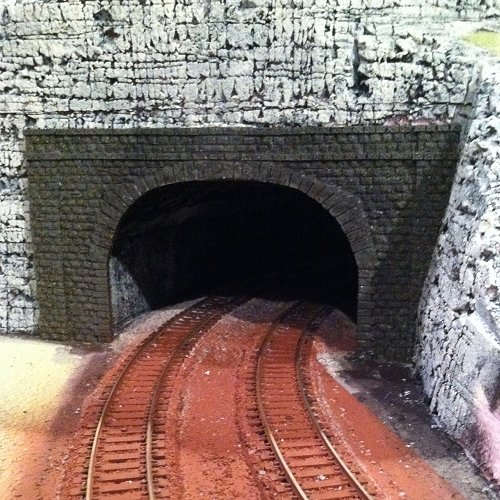
I'm depicting. The portals were not wide enough for my track spacing, so I cut them in the middle and glued each half in place
as needed. The gap was then filled with plaster.
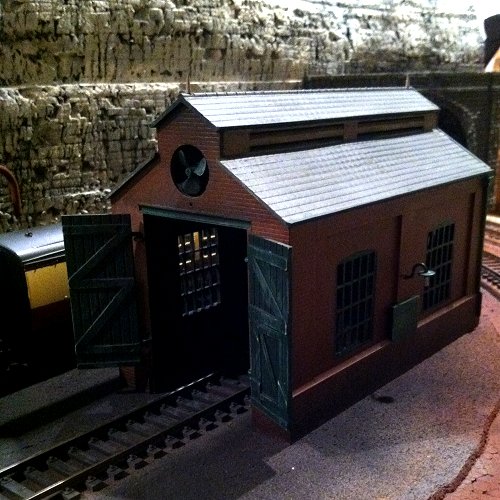
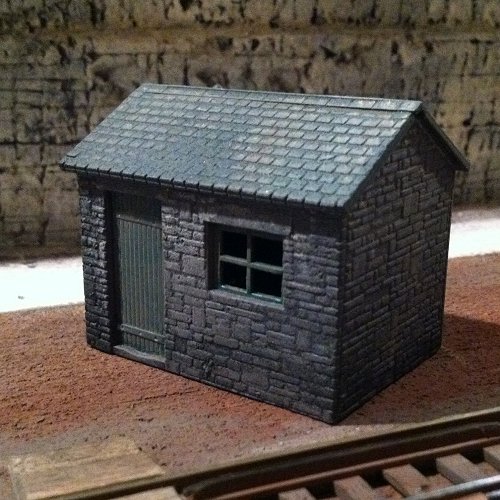
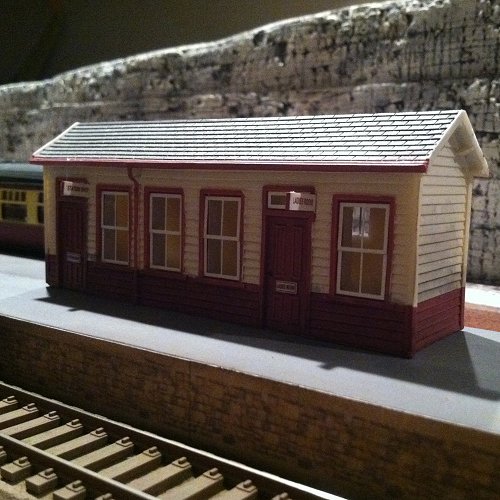
hacksaw blade did the job. The single engine shed at Millers Dale is built from an old Airfix kit. I like to buy old kits on eBay where
I find there are lots of British parts available here in the USA. The shed was painted with Testors enamels. The weathering was
achieved with a little black spray paint around the base, and dry brush work picks out the details.
by a few boards to fit the space available. I used a different weathering technique on these items. The shed was originally grey and
green plastic (green door, window frame, and roof). I built the structure first and then sprayed it overall with Krylon grey primer,
but lightly enough to still see the green through the paint. The bottom edges of the building were then sprayed very lightly with flat
black. I then drew soft artist pastels lightly across the surface and smudged it with a finger. Using a couple of different greys
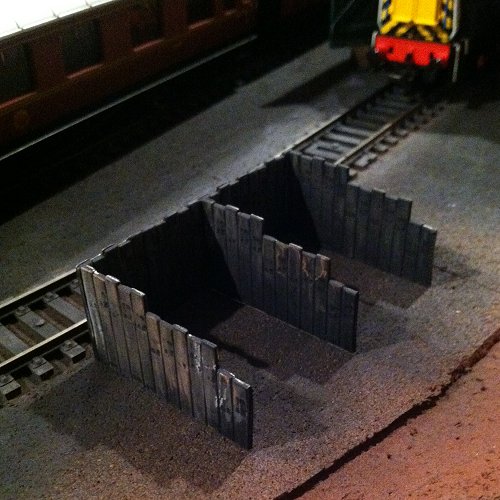
and a light earth colour created a very nice effect VERY quickly. The coal staithes were sprayed flat black and all of the colour
that you see on the weathered boards is soft pastel. I applied the pastels and finger smudged from the top down.
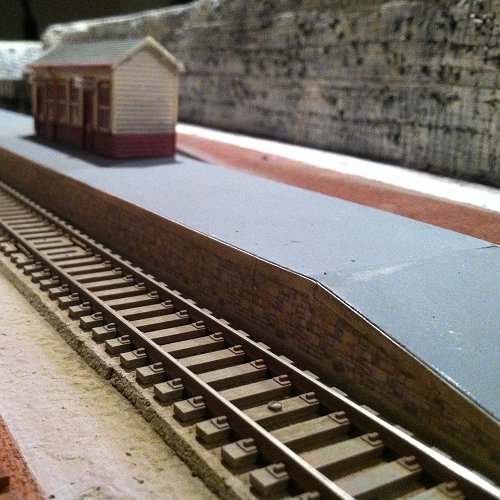
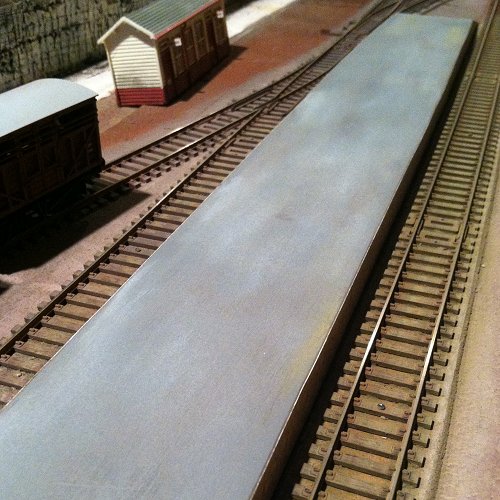
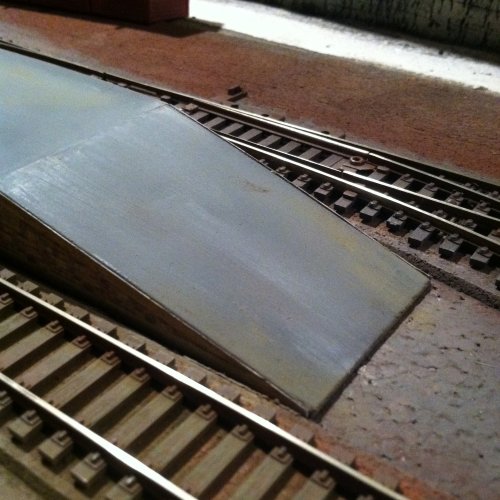
height for the platform top. After gluing the two layers together and constructing the slope at one end, I skimmed the balsa
surface with the same smooth filler as used on the tunnel portals. After that, the platform was sprayed with Krylon grey primer.
The stonework sides you see in the right hand photo are sections downloaded and printed onto thin card stock. I used the "Daisy
Platform" sections from the excellent website here. I only used the edge pieces and cut my own end slope to match the shape
of the platform.
and smudged soft pastel greys over the printed stonework sides of the platform too. I like to tone down all of my colours.
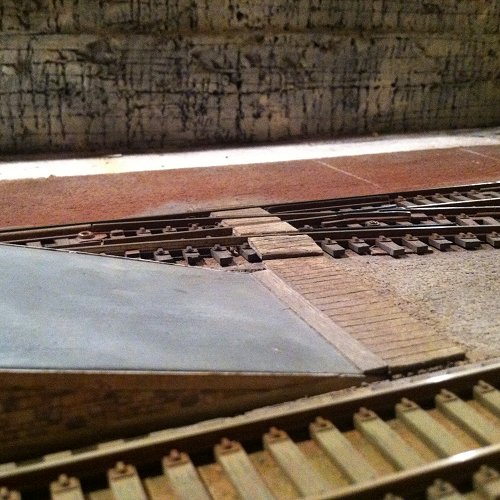
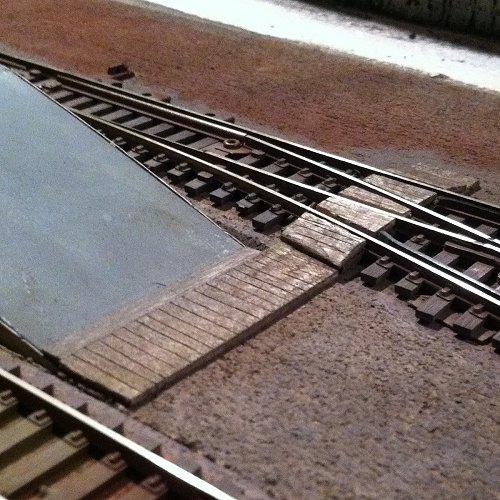
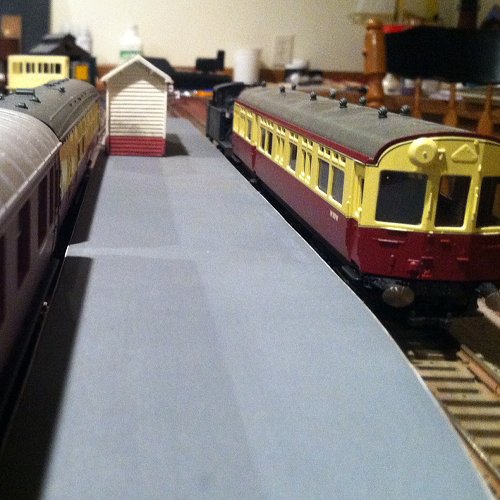
so that's what I've made for now. I may add a bridge later if space allows. The boardwalk is made from sections of 1/16" balsa
wood cut to shape and scored with the back of a craft knife. The wood was then weathered with pastels.
supplied it has a little weathering done, but I'll do more to it.
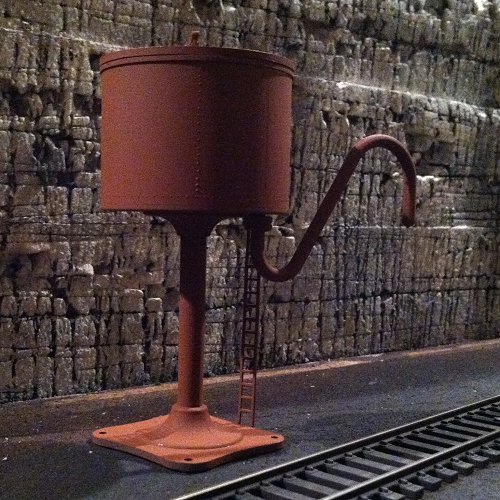
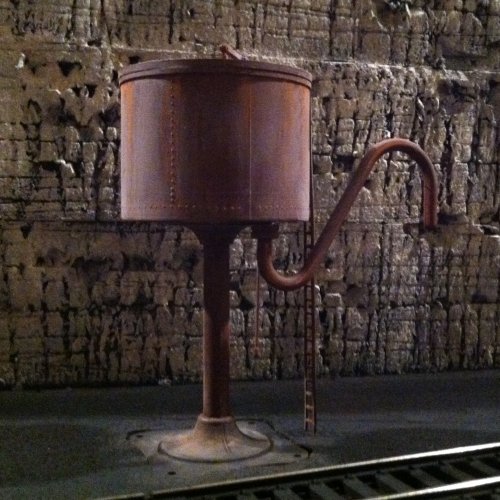
red oxide primer, and the right photo shows how it looks after being weathered with pastels. I used a dark and a light grey along
with a terra cotta colour to accentuate the "rust" shade of the red oxide spray. The base was sprayed black and then lightened
and coloured with pastels. I cut away a section of the 3/32" cork to set the base of the tower into the ground. The base will be
partially hidden with ground cover so only the round part is visible.